Wednesday, August 19, 2020

1600 Automatic Choke Thermal Housing

FoMoCo carburetors series: C7BH-9510K,  C9BH-9510A/B,  691W-9510VA/YA

Housing water hose attachments corrode and eventually break off the housing.

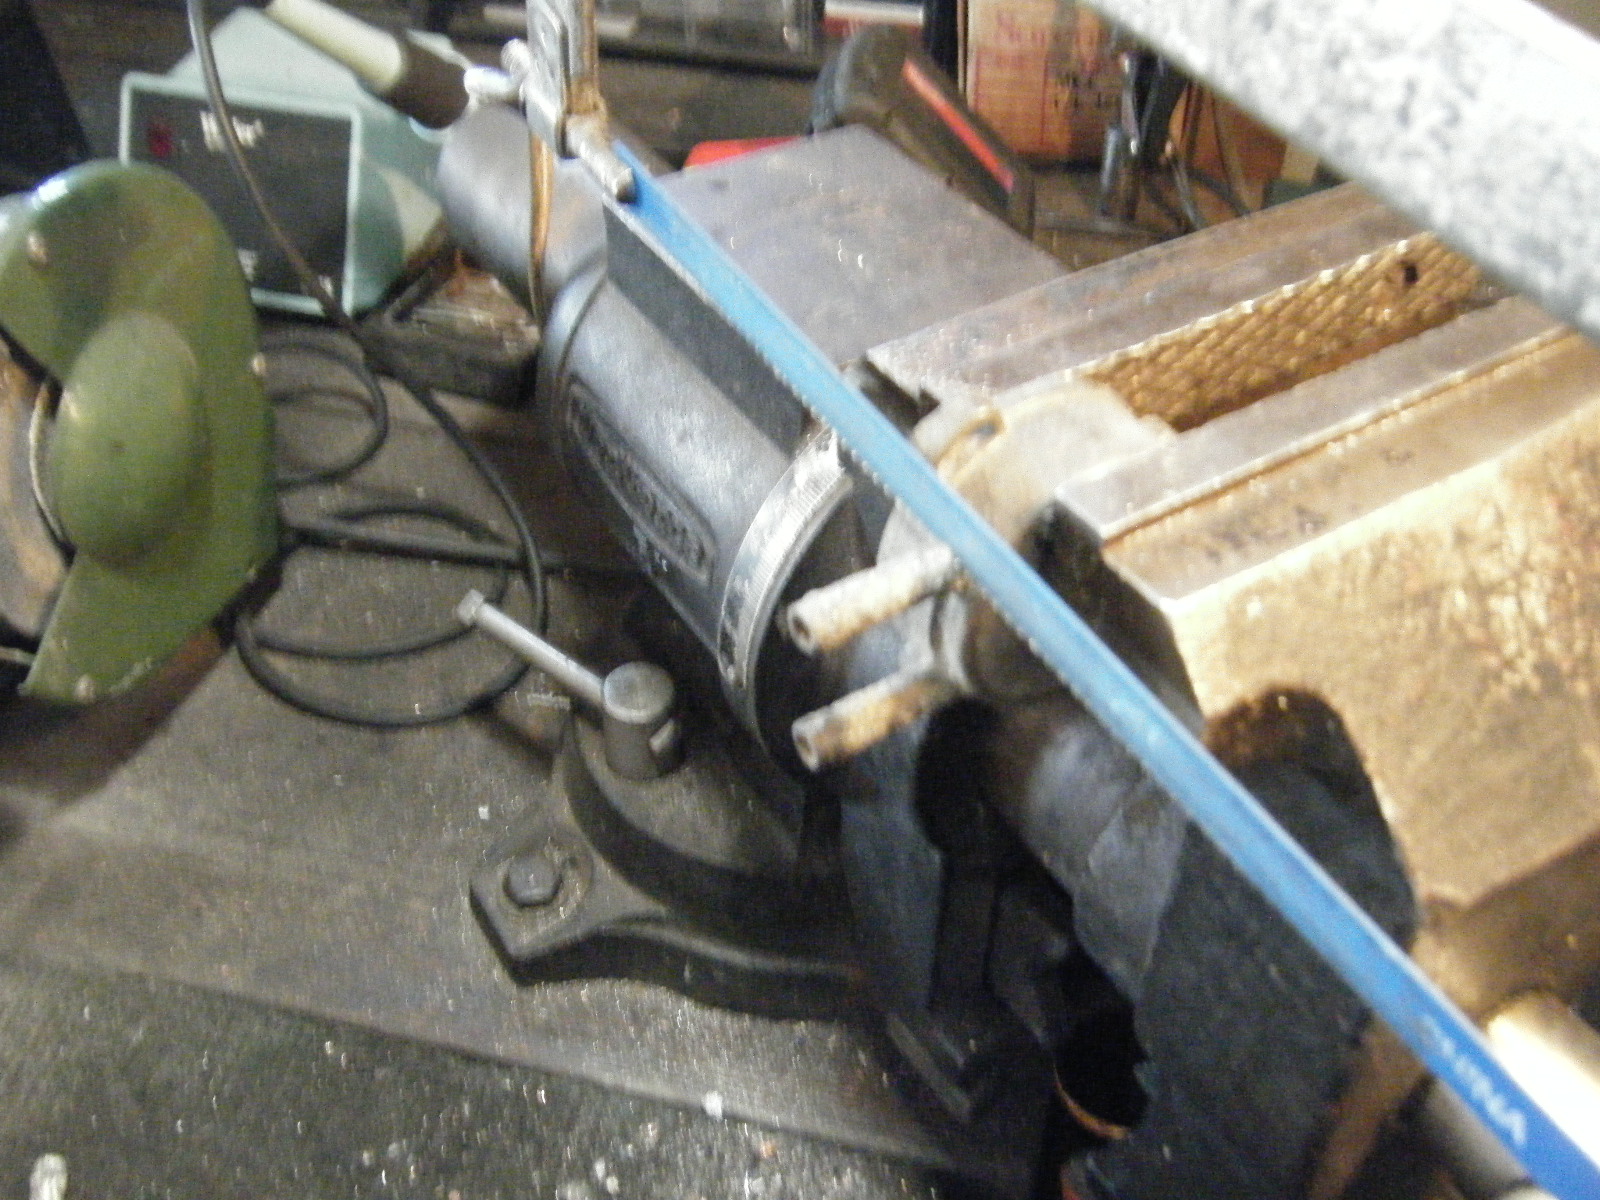
Repair: Cut-off attachments. Drill a 6mm hole .5" deep into the housing then use a M7x10  tap for both holes. Cut two pieces of 1/4" OD copper tubing 1.75" long. Thread each end with a M7x10 die .5" length. ( Reason for metric sizes is that 1/4 x 24 is too small a die for 1/4" copper tubing. )

Apply epoxy on housing and copper tubing thread. Screw in water hose tubing into housing. Let set over night.

Part Number C7AH-9848A


Thursday, May 7, 2020

Ford Rectangular Badges

Type C: Produced by C.E.M. 109E-16070 C for North American models. Mounting pins 5/16" thick.

Type D: Produced by J Fray Ltd. 109E-16070 D for U.K. / Europe. Mounting pins 1/8" thick.

Both types are identical and found type D mounted on American models.
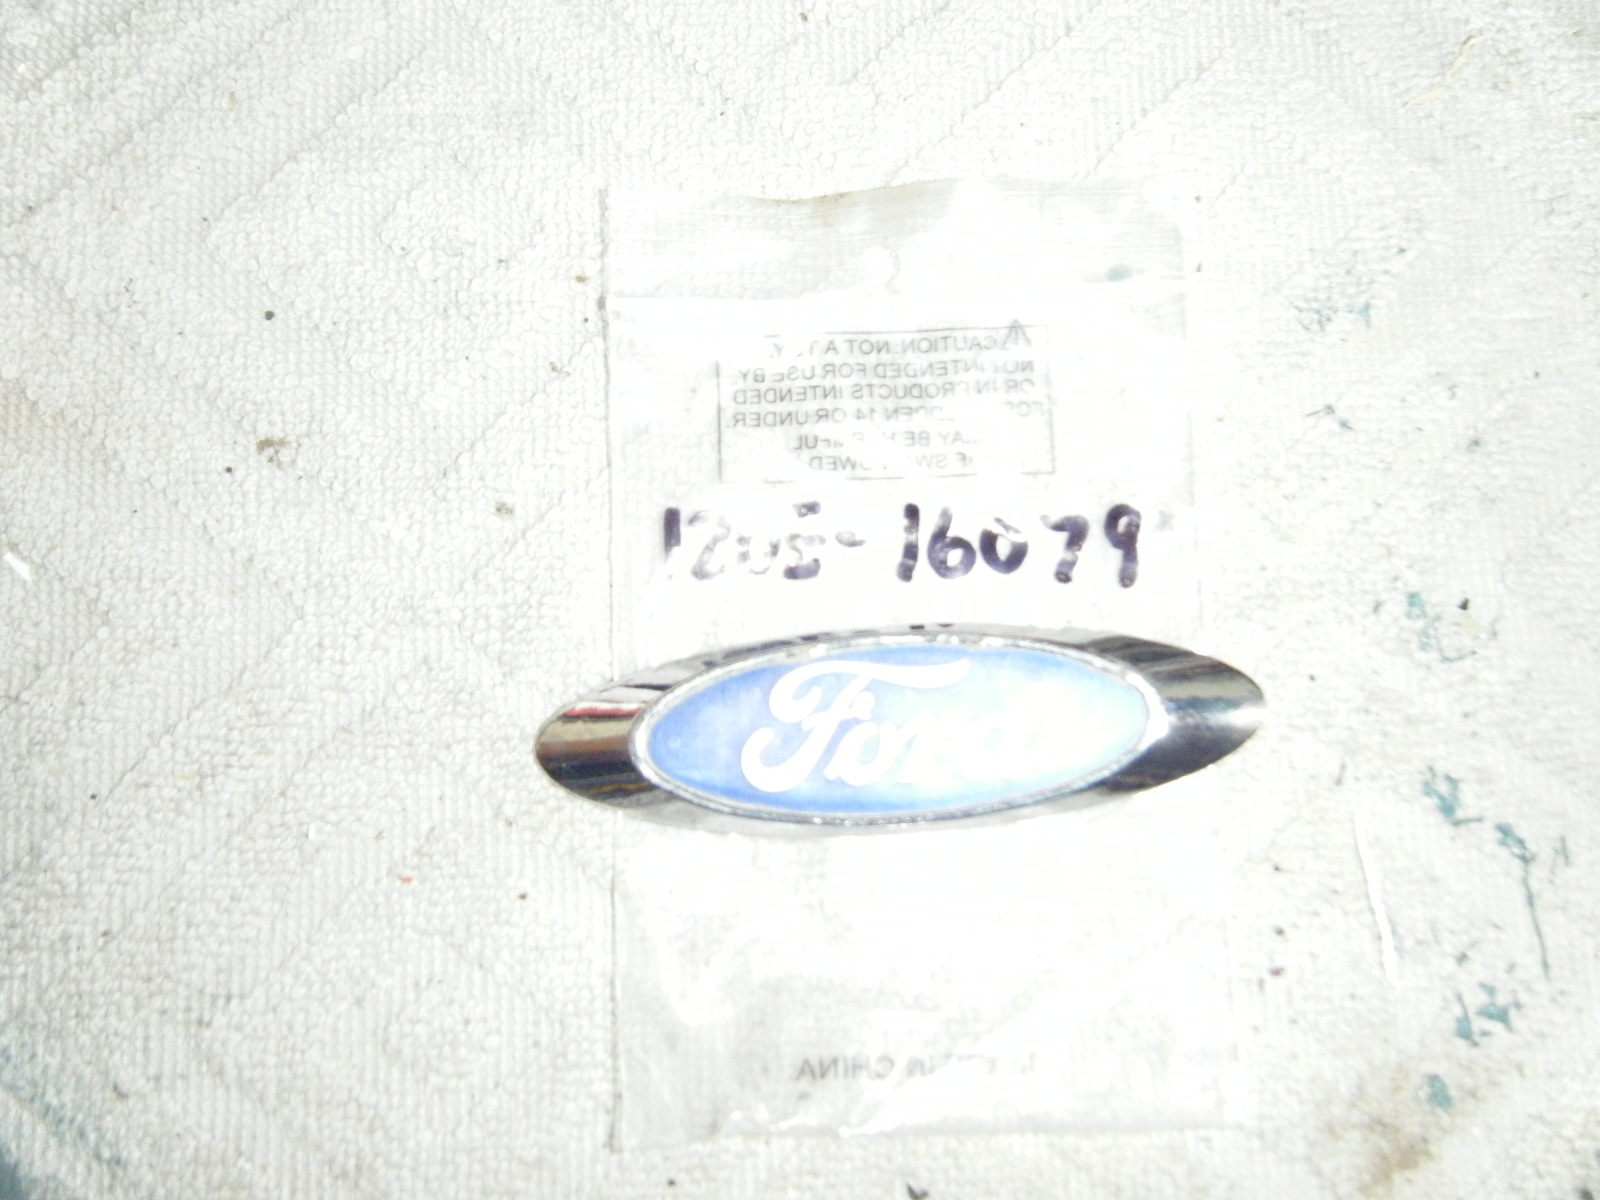
Original bezel plate with removed tag. Modified new tag and unmodified tag.


Refurbishing Badges:

New aluminum tags / decals are reproduced by Scott Drake in the U.S. for the American Ford door sill. Decals are of very high quality includes protected plastic covering and sticky backing. He produces two types:


Left: C8ZZ-6513208-T for 1966-1973 Fords. Right: C5ZZ-6513208-T for 1964-1966 Fords
These decals are a bit larger in size to the original decals produced for EnFo. Borders of these decals would need to be cut off to fit the EnFo bezel plates. A wooden jig is fabricated to the size of the inner surface of the bezel plate with a 1/16" deep oval cut-out to give clearance to the embossed Ford emblem. The Drake decal is sandwiched between the two wooden pieces and clamped slightly in  vice. I used a sharp wooden chisel to shave off the outer embossed border. I prefer C8ZZ with the smaller Ford logo instead of the C5ZZ lettering where "Product of " is touching the bezel plate border.
Original emblem.


Thanks to Tom Stixrud, my brother-in-law, for creating the jig for this idea.


Saturday, November 30, 2019


Here is a link to me being interviewed about my Anglia in 2017 at the The Little Car Show in Pacific Grove, CA

https://www.facebook.com/MarinaMotorsports/videos/361253474553802/

Monday, August 26, 2019

Cortina MK1 window trim filler moulding

Application: 1962- 66 Windshield and sedan rear window trim filler moulding. p/n: 113E-7042432

I've cut off 1" section pieces from a damaged Cortina MK1 gutter stainless steel moulding. Shaping and grinding down the side lip a bit to form a similar shape filler to the original. They are not a perfect copy of the original thus would need to be attached with sealant.

These are available to order please contact me.

Replicated filler attached with sealant

Replicated fillers

Original filler on the left, replicated filler on right

Friday, July 6, 2018

105E Front Seat Bracket Extension Conversation

The early bucket seat clamp bracket and spacer set on the early Cortina MKII can be used on the 105E series models to move the front seat aft approximately one inch.

Image of the seat clamp and spacer are illustrated in the Cortina model "C" master parts and illustration catalog.

Clamp p/n: 3014E-7360064    Spacer: 7361816


Original 105E seat clamp

Cortina MKII spacer

Cortina MKII spacer and clamp set

Drill a new mounting hole for the aft section of the clamp

Sunday, August 6, 2017

100E / 105E Light Switches

Twist / pull type were commonly made in England by Arcoelectric, established in 1932 and remains a leading manufacture of switches and indicators.

These switches can be refurbished if the unit isn't damaged or contacts are too worn beyond repair.

Dismantling:

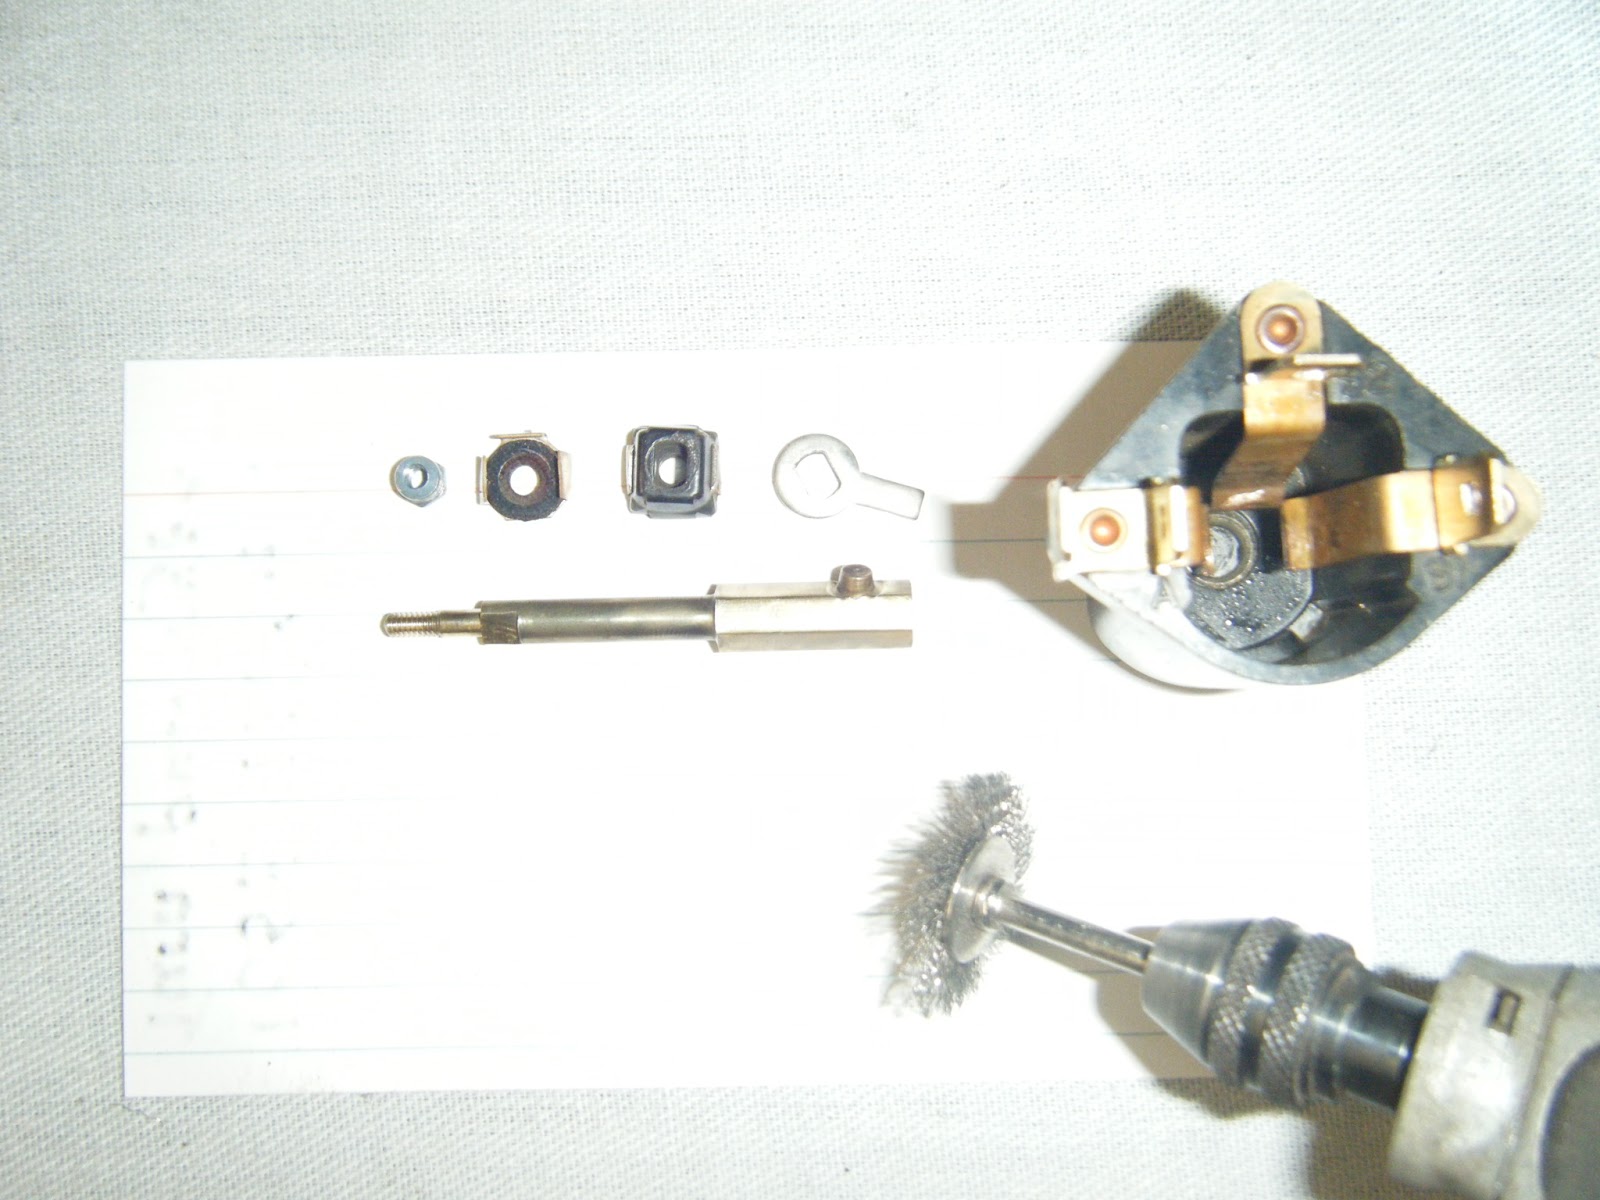
Remove the 5mm nut with long nose pliers. Check each removed part for extensive wear. Use a Dremel type motor with a rotary wire brush to clean and polish the contacts and spindle shaft.

Re-assemble:

Observe all spring loaded tabs make contact. You may have to bent the tab a bit for firm contact.
Apply lock-tite type sealant on the nut thread. Tighten the nut lightly with the shaft in the pull out
( lights on ) position.

Operation and continuity check:

Connect an Ohm meter to the switch terminals and rotate / pull to check operation and continuity.
Oil shaft with light oil . Spray a bit of WD-40 inside the switch if operating it is noisy.


Monday, February 13, 2017

License Plate Light Assemblies

Application:

Butlers A-L-60 for 105E / 109E
Wards & Goldstone Ltd SAE 6-61 for 114E-13543.

Replace damaged or rusted light sockets with instrument light sockets that fit in a 5/8" diameter hole.

Reproduction assembly:

Use 1/16" sheet metal. Cut and bend to desired size and mounting angle. 5/8" light socket hole(s).
My preference for a chrome cover, glass, and gasket is from an early MGB which are easily obtainable.
Light sockets are 105E / 109E or Cortina MK1 / MK2.

Remove light socket from bottom of assembly for easy light bulb access. Snap socket in place with low adhesion silicon to prevent moisture exposure.
Reproduction bracket; 3 types of 5/8" English Ford light sockets; MGB cover, glass, gasket and screws)

114E original bracket; 105E instrument light sockets


On the left, original 105E light assembly. On the right, reproduction assembly.

Tuesday, May 24, 2016

Autolite / Motorcraft Four Cylinder Distributor Caps and Rotors

Ford officially launched Motorcraft parts division in 1972. This new brand replaced Autolite owned by Ford since 1961.
 Autolite Distributors were installed after 1966 for imported N.American Anglia 105E / 123E, Cortina MK2 '67-70 and Lotus Cortina MK2, including V4 engines.
Autolite produced two types of distributor caps and rotors for the Autolite and later Motorcraft distributors:
C7BH-12106A (1967)


C6AH-12106A (1966)


Physically the same caps except C7BH has approx. 8 degree advance rotor contact position.
I could not find any information on why Ford decided to develop this new type C7BH cap along with C6AH cap. I can only guess that the Autolite C7BH cap was produced for high revving Lotus Cortina MK2 engine in 1967 which is the correct cap and rotor C6AH-12200A for this model.


                        C6AH-12200A (1966) DORY-12200A                                 DORY-12200B


The rotor on the left is meant for the 1500 / 1600 GT engine and on the right is a larger area contact rotor meant for the 997 to 1600 standard engines.

According to parts suppliers all caps and rotors are interchangeable but the problem arises when a DORY-12200A ( GT ) rotor combines with a C7BH ( standard ) cap. The rotor doesn't align with contacts of the cap. Moving the distributor to align the contacts will alter the dwell.

In the 105E parts book lists Autolite cap as C6AH-12106A or C7KH-12106A which is the correct cap for a 997/1198 engine but the rotor listed as C6AH-12200A or C7AH-12200A is incorrect. Should have:
DOAH-12200A or DORY-12200B.

Lucas Electrical parts reference for Capri 71-73 1600 and Cortina 67-70 1600 combines RA2 rotor and DC4 cap as a set which is also incorrect. Should be DC7.

Match: Cap C7BH-12106A with Rotor DORY-12200A or DORY-12200B
Match: Cap C6AH-12106A with Rotor DORY-12200B only
No Match: Cap C6AH-12106 with Rotor DORY-12200A

Interchangeable:

Advanced Caps: Ford C7BH-12106A, Motorcraft EDH-13, Lucas DDB757 ( DC7 ),
Niehoff FF 60 E, Standard FD 146, Autolite DHE-155

Standard / Deluxe Caps:  Ford C6AH-12106A, C7AH-12106A, DORY-12106A, Motorcraft EDH-12
Lucas DDB754 ( DC4 ), Autolite DHE-156.

Short contact rotors ( GT ): Ford C6AH-12200A, C7AH-12200A, DORY-12200A, Motorcraft DRE-90,
Standard FD-113, Bremi 9563.

Long contact rotors ( Standard / Deluxe ) : Ford DOAH-12200A, DORY-12200B, Motorcraft DRE-91, Standard FD-112.




Sunday, January 3, 2016

Hi / Lo Dual Horns

Cortina / Corsair / Lotus Cortina MK1 > 8/63
p/n: 113E-13800B

Non-polarity sensitive horns are isolated mounted to a bracket spot welded to the inner fender. Activated by a spring loaded switch to ground on the turn signal.

Servicing:

Decibels can be increased by turning the square head tone adjuster screw either CW or CCW. These horns are sensitive to a slight variation of voltage. If your car is equipped with a generator and the engine is idling with a load i.e lights on, there will be a voltage drop across the horns resulting low DB power.
To solve that issue, install a 20 amp relay near the horns.
Inoperative horns: Drill-out the aluminum ribbed neck rivets. Separate the two halves carefully. The diaphragm / plunger assembly and circuitry should be in good condition. Slight rusting is acceptable. Clean diaphragm and inner unit with steel wool and WD-40. Check insulation material and rivets. Clean contacts with a nail file. Remove the tone adjuster screw and check to see if the screw end did not wear through the installation thus causing the screw ground to the metal flap. If it has, glue a 1/2"x1/2"x1/16" thick fiberglass type material to the adjustment pad.

Continuity Check:

Lo Horn:  FG6 terminal #1 not grounded to housing.
                        terminal #2 not grounded to housing.
Coil check across terminal 1 and 2 approx. 120K ohms

Hi Horn:  FG9 terminal #1 not grounded to housing.
                       terminal #2 not grounded to housing.
Coil check across terminal 1 and 2 approx. 130K ohms

Testing:

Install diaphragm / plunger into coil cavity. Hold down center of diaphragm while momentarily applying 12 V to the terminals. Unit will react as a solenoid.

Assembly:

Replace paper gaskets as needed. Install diaphragm / plunger and attach horn housings. Install rivets machine screws, or such. ( I used 1/4" - 28 x 1/2" long ribbed neck carriage bolts with nuts for easy future access. You would need to increase the size of the holes to accept the ribbed neck bolts).
Install tone adjuster screw until it just touches the pad. Horn contacts are closed. Turning the tone screw CW until the contacts just open. Check this by a ohm meter probe on one terminal and the other probe
on the casing. Mounting the horns directly to the bracket without insulating and the contacts are closed will cause the horn to activate with only one hot wire to the terminal.

Testing:

Attach hot wire to the horn terminal and intermittently touch the ground wire to the other terminal while turning the tone screw CW slowly until the decibels is at max. At that point, there should be no continuity between each terminal to the base of the horn. The horns can be mounted either insulated or not.


Monday, August 10, 2015

Exhaust Header Heat Wrap

Thermal tape, Heat Tape, or Header Tape. Do not use on mild steel headers.

In Theory:

Header wraps are designed to keep the heat in the header which reduces radiant heat around the engine bay.
There is a slight, if any, performance gain.

Header manufactures or even custom header makers will void any warranty claims if header wrap is installed.

Facts:

Insulating the header with any type wrap will increase the surface temperature to molten levels causing metal fatigue and the tubing to crack. It will also trap moisture and a quick way to destroy mild steel headers.

Conclusion:

Heat wraps can be used on starters, fuel lines, or wiring in the engine bay.

Below:

These headers are destroyed after applying heat wrap within two months time. The tubing nearly crystallized
preventing any welding repair. All the tubing would need replacement.


Thursday, June 25, 2015

Kent engine oil dipsticks / timing covers

Three types of dipsticks for the Kent series front bowl oil pan. They should have the part number stamped on the end of the dipstick.

Anglia 105E/123E, Prefect 107E, Capri 109E, Cortina 1200.

P/N: 105E-6752 ( 997 / 1198 / 1340 engines )
Length: 17" to 19"
Full mark to center stop: 9.5"
Note: Error in Anglia 105E parts book:  listed 105E-6752 as 105E-6752B

Cortina MK1/2 1500, Capri 116E 1500.

P/N: 105E-6752B ( 1500 pre-crossflow )
Length: 18.5"
Full mark to center stop 9"

Cortina MK2 1600.

P/N: 2737E-6752A or DORY-6750B.
Length: 20.5"
Full mark to center stop: 9.5"
Note: 105E-6752 will interchange with DORY-6750B

Timing cover

P/N: 105E-6059B EnFo and DORY-6019A FoMoCo. Interchange.
Note: Only difference is the tube boss is slightly beefier on the later FoMoCo cover.

Dipstick tube

P/N: 105E-6754 or DORY-6754A
Tube length varies: 3.5" to 4"
Tube length inserted into timing cover: 3"

Dipstick notches and tubes wear out, in some cases, nearly 1/8" worn off the dipstick notch.
Causing an inaccurate oil quantity reading on the dipstick. A way around this is to apply 3/8" thin walled shrink tube around the notch. Cut length 1" and adjust 1/4"-1/2" below the notch.
Note: Will also help seal the dipstick tube preventing blow by from a worn engine.

Monday, December 15, 2014

204E / 206E Replacement Gaiters

Applicable to the MK2 Zodiac, Zephyr, Consul '56-62.

English Ford p/n: E 125-GD-2. Inner dimension: 2 1/8" x 2 1/8" x (1 11/16" fork cut-out).
Ford p/n: C30Z-7513A. Inner dimension: 2 1/4" x 2 1/4" x ( 1 1/2" fork cut-out).

These Gaiters are used in the English Ford made Dagenham 4 speed transmission for the "62-'65 Ford Fairlane, Falcon, Mercury Meteor, Comet 144ci / 170ci 6 cylinders  64 1/2- 65 Ford Mustang 170ci / 200ci. 6 cylinders.
U.S. Ford offered three types of Dagenham transmissions which are L/H side-loaders p/n: 212E-7006F.
Dagenhams are similar to the English Ford 211E/213E and U.S. 3 speed 2.77 / 3.07 trans  ( designations are not gear ratios).

Replacement Gaiters are easily sourced from Ford parts suppliers, or ebay. $15-$24. They fit tightly in the Bell Housing and Fork. Smear vaseline on the Gaiter for easier installation, being careful not to poke thru the rubber. Use a worn, wide-blade screw driver to help maneuver the gaiter into place.

This replacement Gaiter may not work on the EOTA / EOTTA and 211E /213E Bell Housing. Measure the Bell Housing opening and Clutch Fork. I don't have access to these types.
Left hand E 125-GD 2 / Right hand C30Z-7513A

Left hand E 125-GD 2 / Right hand C30Z-7513A

Installed C30Z-7513A Gaiter in 206E bell housing


Sunday, November 30, 2014

Vented and Non-Vented Gas Caps

 There are two types of fuel tank caps that are available: vented and non-vented.
A non-vented cap will cause fuel feed problems if your fuel tank is not vented. So you must use a vented gas cap, otherwise it will put a strain on the fuel pump, particularly compact solid state electric fuel pumps will fail in no time. Vented caps let in air to take up the used fuel and relieve internal pressure build up in non-vented tanks. Use the correct cap for your particular model.

Vented systems are ones that vent fuel fumes to the outside air thru either a vented cap or vented tank.
Modern closed systems are ones that reuse the vapors that fuels put off by recirculating it back into the fuel system by ways of an inline purge valve, or a type of a carbon canister system, or any other means in a closed  system thru an internal fuel vent. In 1970, Cortina MK2 in North America came with non-vented caps for a closed evaporative emission system.


Below is a list of English Ford vented and non-vented caps:

100E series:  Non-vented tank. Vented caps: EOA-9030 or Locking cap: E493A-9030.
105E series:  Non-vented tank. Vented caps: 105E-9030A or Locking cap: 105E-9030
105E Estate: Vented tank. Non-vented caps:  400E-9030A or Locking cap: 400E-9030B
307E series:  Non-vented tank. Vented cap  : 307E-9030.
109E Capri / Classic Consul.  Vented tank. Non-vented caps: 204E-9030A or Locking cap: 204E-9030B

EOTA / ETTOA: Non-vented tank. Vented caps: EOA-9030 or Locking cap E493-9030.
204E / 206E: Vented tank. Non-vented caps: 204E-9030A or Locking cap: 204E-9030B.
211E / 213E: Vented tank. Non-vented caps: 204E-9030A or Locking cap: 204E-9030B.

Cortina MK1 sedan: Vented tank. Non-vented caps: 400E-9030A or Locking cap: 400E-9030B.
Cortina MK1 Estate: Vented tank. Non-vented caps: 113E-9030A or Locking cap: 3014E-9030C


Thursday, October 16, 2014

Kent Engine series Water Pumps and W/P Pulleys

Two types of water pumps (w/p) : 105E and uprated Capri / Pinto 1600.

105E type:

W/P: Ford p/n: 105E-8501A. Quinton Hazel p/n: QCP-181.
Dimensions: Hub 2 5/8". Center of Hub 3/4". Hub bolt holes 3/16". Shaft diameter: 1/2".

W/P Pulley:  single groove w/o emission p/n: 105E-8509B. double groove w/emission p/n: 2737E-8509B.
Dimensions: width 4 1/4". height 1 7/16".

All U.S.A. EnFo imported models are equipped with the 105E type w/p's:
Anglia 105E, Prefect 107E, Consul / Classic / Capri 109E, Cortina MK1/2.

Cortina MK2 Master Parts Catalog lists W/P p/n: DORY-8501A and with DORY-8509B W/P pulley.
This is an uprated W/P version ( and matching pulley ) of the 105E W/P and not supplied on smog equipped models.

Uprated 1600 type:

W/P: Ford p/n: DORY-8501A. 691F-8501AA. 682F-8501A. Quiton Hazel p/n: QCP-730.
Dimensions: Hub 2 5/8". Center Hub 15/16". Hub bolt holes 5/16" Shaft diameter: 5/8". Heavy Duty Casting. On 711M block and after.

W/P Pulley: p/n: DORY-8509B
Dimensions: width 4 1/4" height 1 5/8".
Left to Right: p/n 2737E-8509B, p/n 105E-8509B, p/n DORY-8509B

Left to Right:  p/n 105E-8501A, p/n DORY-8501A

Water Pump Spacer p/n 2730E-8A645A

105E Pump with Spacer


Uprated W/P can be a replacement for the 105E W/P. You would need to use the matching DORY-8509B
pulley and enlarge the center hole of the fan blade to 15/16" and increase the bolt holes to 5/16".

A fan blade spacer p/n: 2730E-8A645A provided for the Cortina MK2. This part is not listed in the Cortina "C" Master Parts Catalog. The spacer should be installed on all MK2 105E type W/Ps either for metal or plastic fan blades.

All impellers should be made of metal, cast iron or steel, some after market 105E type W/P's had plastic impellers-don't use. They will come loose or melt from high heat.